eGO Academy › Digital Marketing › Newsletter Configuration
Newsletter Configuration
The application manager can create and send newsletters to their contacts directly from eGO Real Estate. Setting up the newsletter service is primary.
To do so, take the following steps:
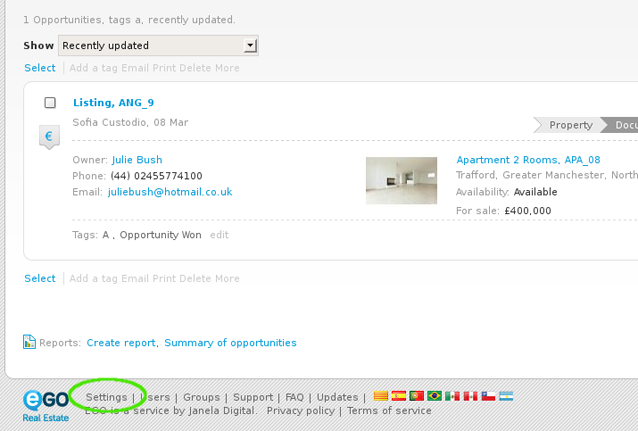
Click on ‘Settings‘ in the footer of the application;
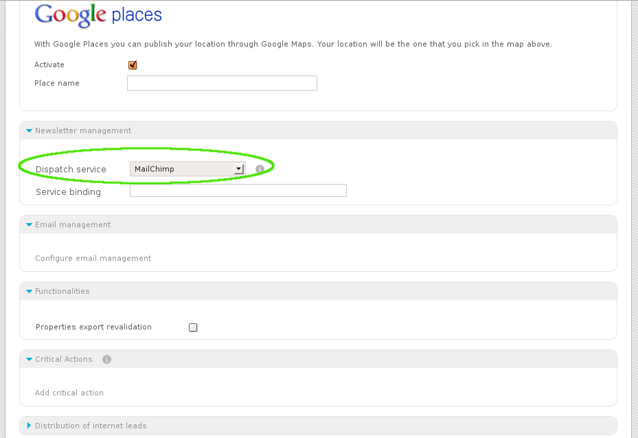
In the ‘Newsletter Management‘ area, select ‘Mailchimp‘ from the drop down menu as your dispatch service;
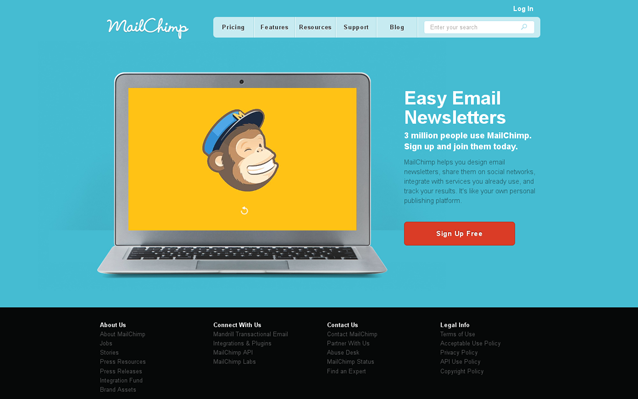
Then, go to Mailchimp, and click “Sign Up Free”;
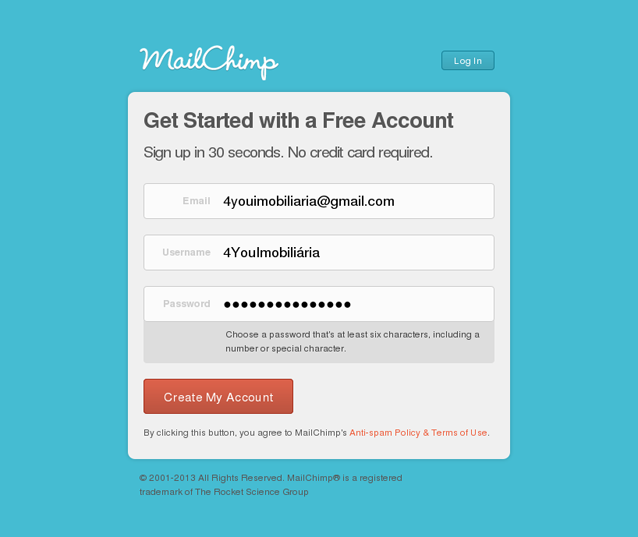
Complete your registration with email, username and password. Then click ‘Create My Account‘;
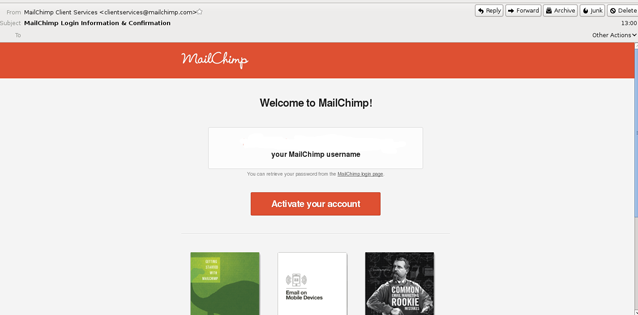
Check your email inbox to activate your account. From the email sent to you by Mailchimp, click ‘Activate your account‘;
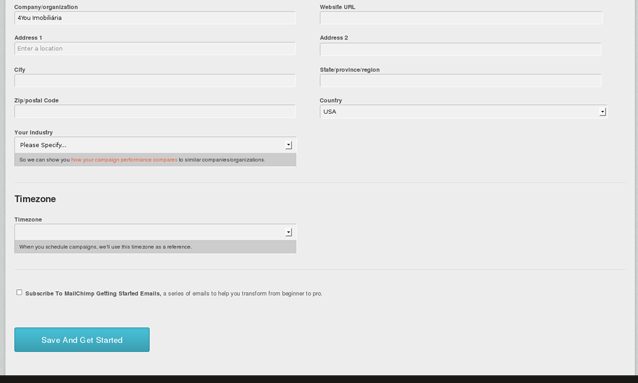
Then, complete all necessary information, click ‘Save and Get Started‘ and finally ‘Let’s go‘;
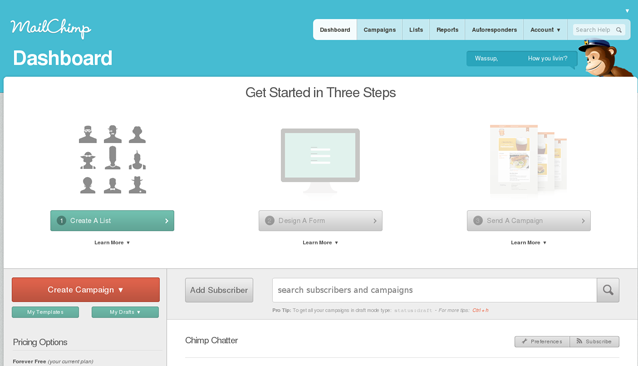
The next step is to create a list of contacts. To do so, click ‘Create a List‘;
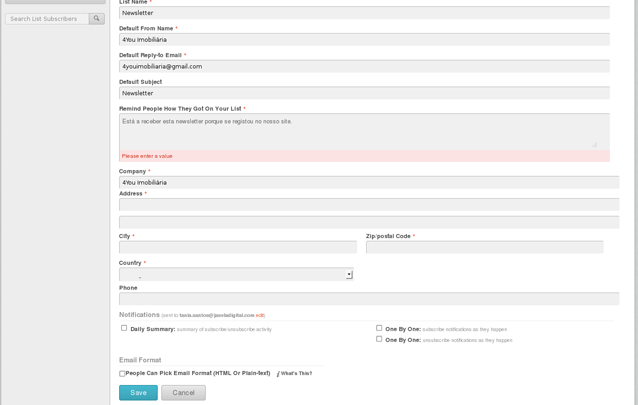
Enter the information that will identify the newsletter, such as: list name, from name, reply-to email, subject, etc. After completing all mandatory fields, click ‘Save‘;
Now you need to get your API Key and copy it to your eGO newsletter settings. To do so, login to Mailchimp and click ‘Account‘, then click ‘API Keys & Authorized Apps‘;
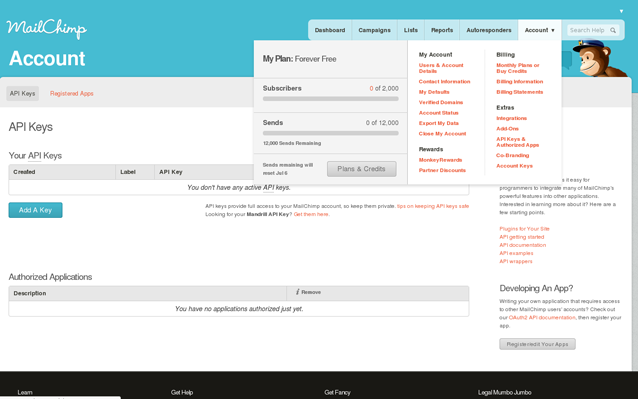
Click ‘Add A Key‘. A code will be generated and should be copied to the eGO newsletter settings;
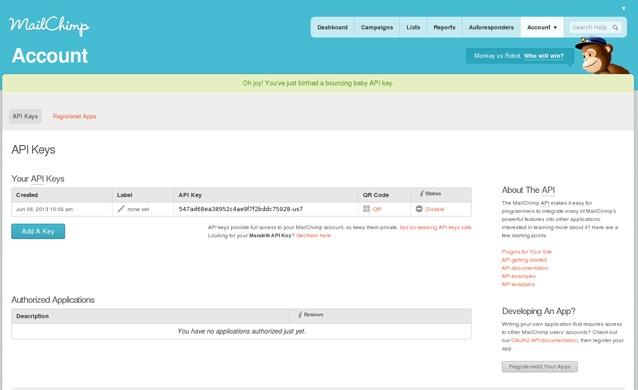
Copy the MailChimp API Key into the ‘Service binding‘ field in the newsletter management area of the eGO Settings. Finally click the ‘Save’ button;
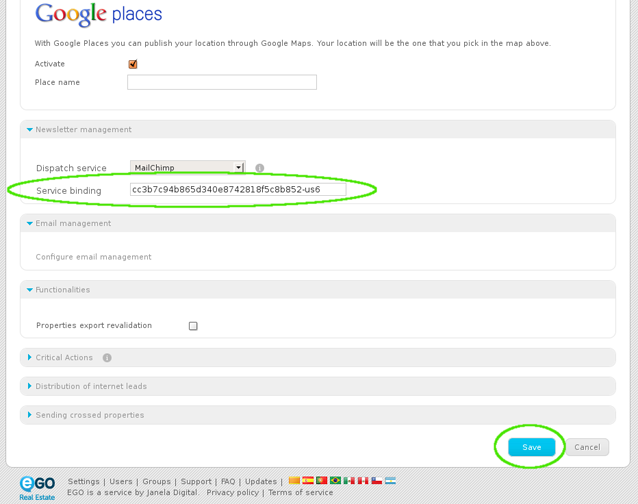
eGo Real Estate is now ready to send newsletters.


